Creating a notebook
Start a development environment directly in the TUKE Kubernetes cluster.
-
No request needed
Your own namespace is created automatically on first sign-in.
-
Three environments
JupyterLab, Visual Studio Code or RStudio.
-
Persistent data
Files stay on disk even after the notebook is stopped.
-
TUKE ID
The same sign-in as for other services.
Signing in
Open ml.cloud.tuke.sk and sign in with your TUKE ID. Your personal namespace is created automatically and shown in the top bar next to the package icon.
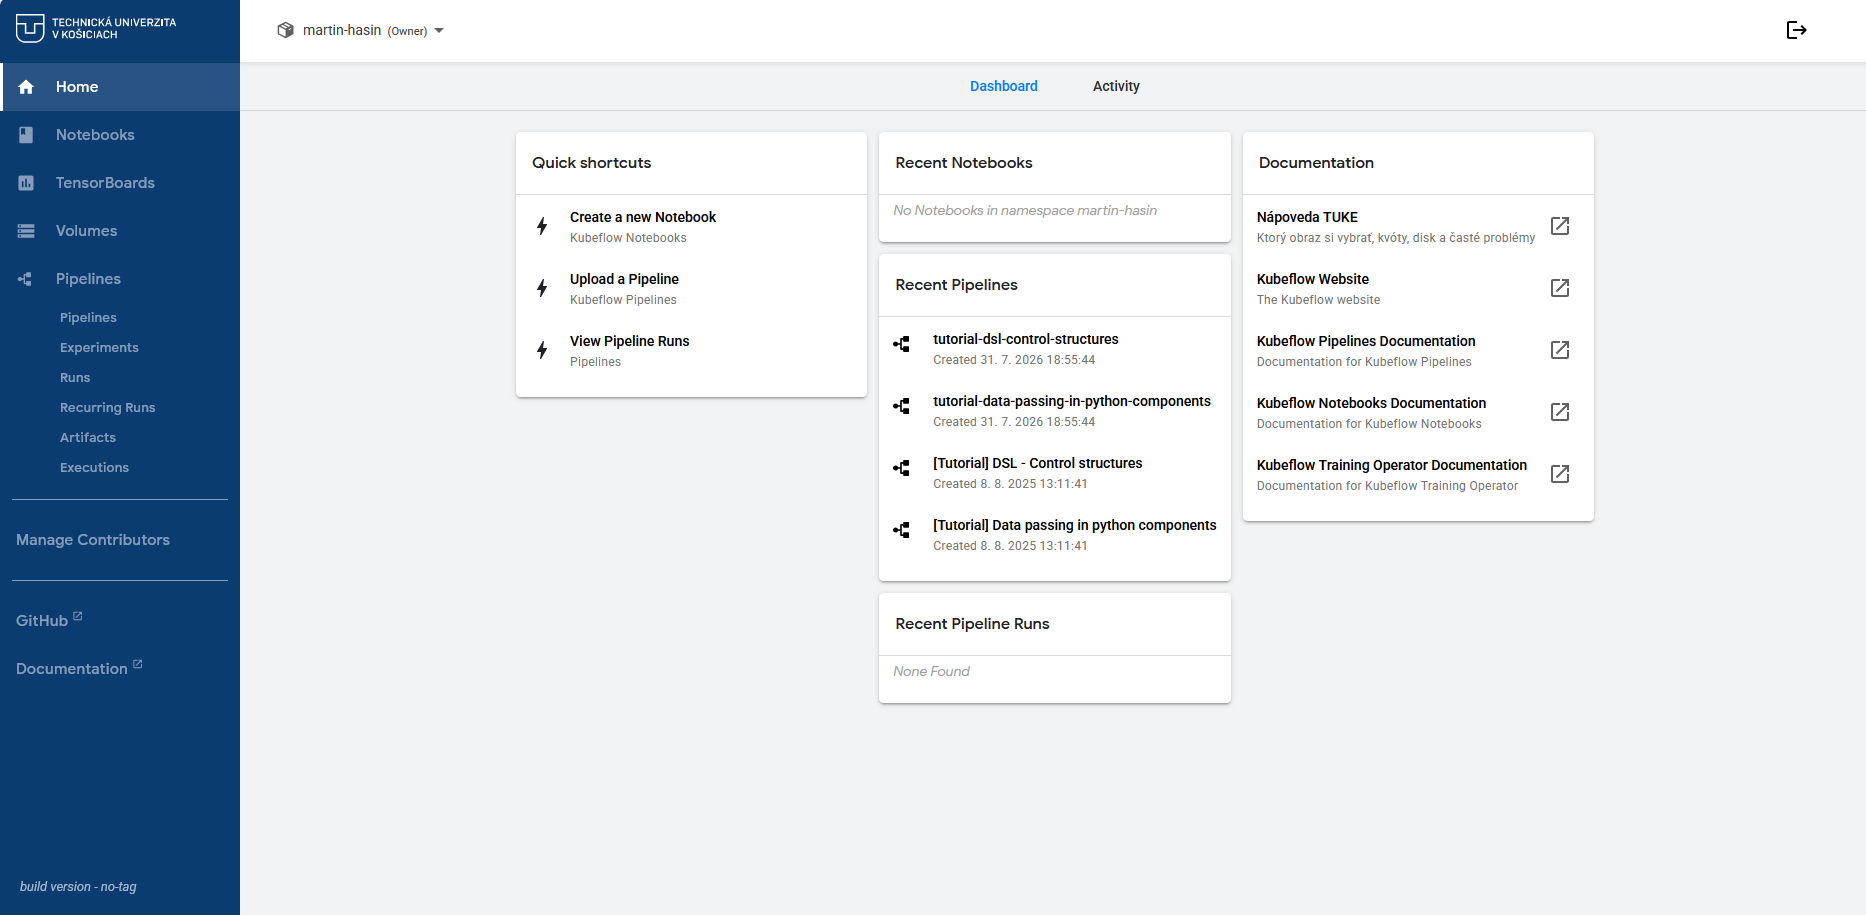
The main menu on the left:
| Item | What it does |
|---|---|
| Home | Overview and quick shortcuts |
| Notebooks | Creating and managing notebook servers |
| TensorBoards | Visualising training logs |
| Volumes | Storage volumes and the file browser |
| Pipelines | Pipelines, experiments, runs and artifacts |
| Manage Contributors | Sharing the namespace with colleagues |
The namespace is your space
All notebooks, volumes and pipelines belong to your namespace. Other users cannot see into it unless you grant them access via Manage Contributors.
Notebook list
The Notebooks section lists all your notebook servers.
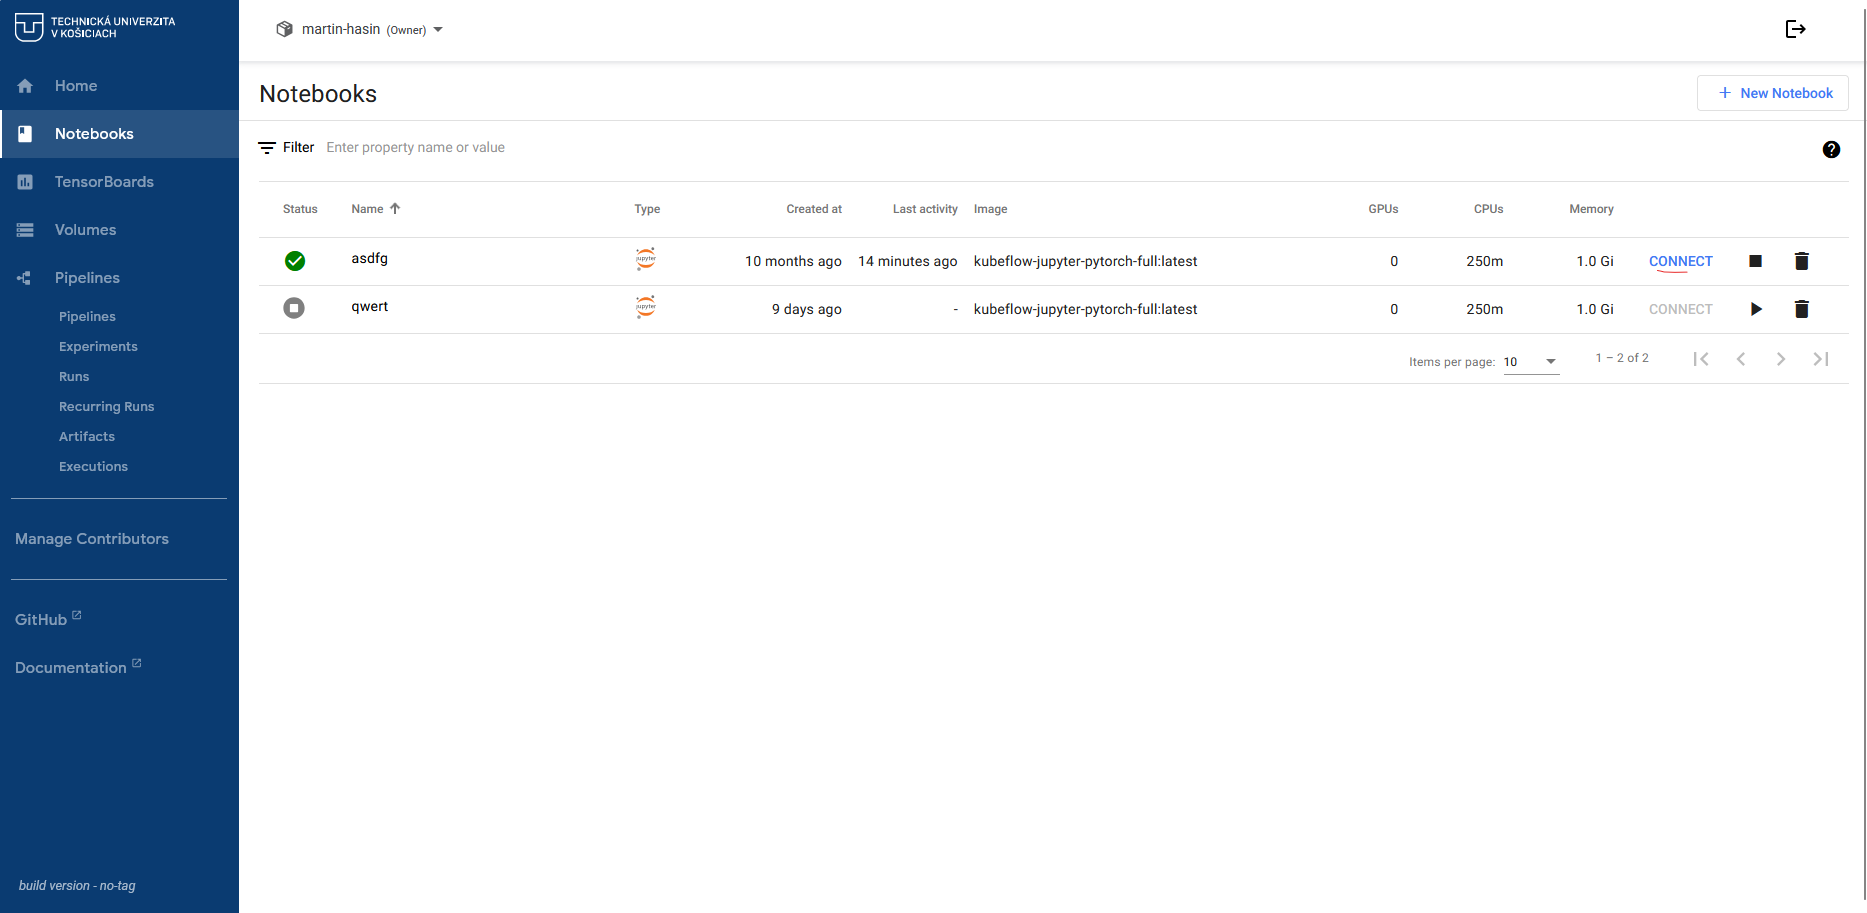
The table shows status, name, environment type, creation date, last activity, the container image in use and the allocated resources.
| Element | Meaning |
|---|---|
| Green marker | The notebook is running, CONNECT takes you into it |
| Grey marker | The notebook is stopped, start it with |
| Square | Stops a running notebook |
| Bin | Permanently removes the notebook |
A stopped notebook consumes no resources
Data on the workspace volume is preserved, so you can stop a notebook and continue your work later.
Creating a new notebook
Click + New Notebook in the top right.
Name and environment
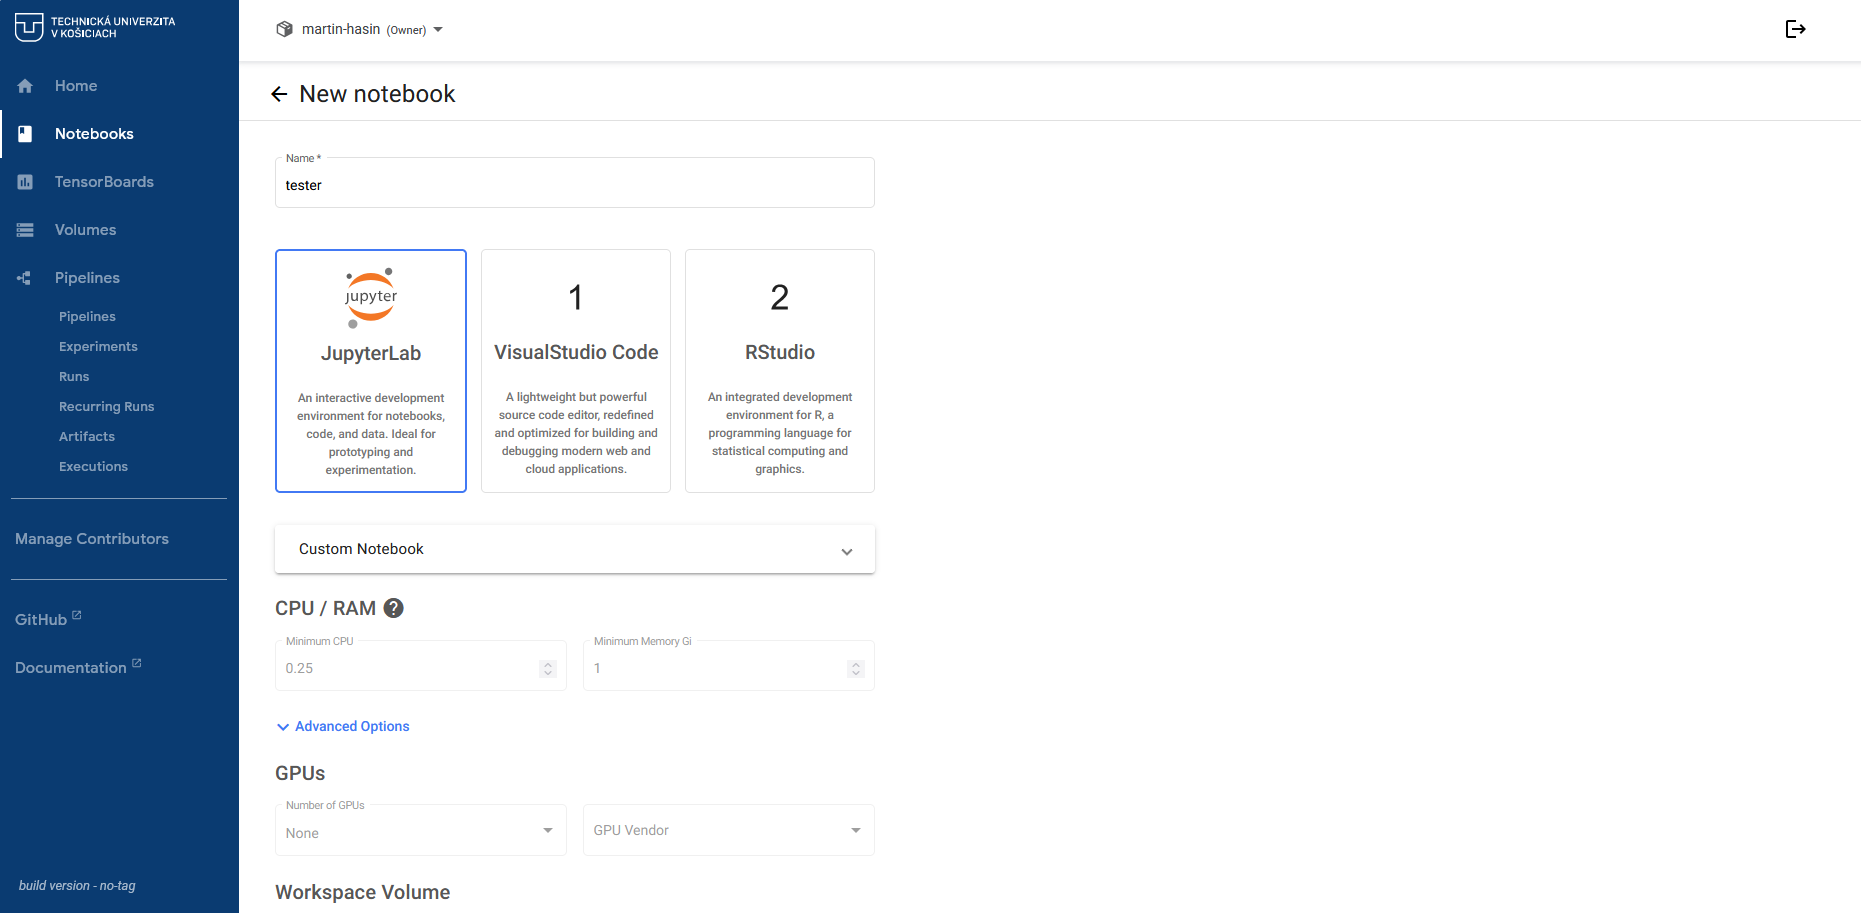
Fill in Name and choose an environment:
-
JupyterLab
Interactive notebooks for prototyping and data analysis.
-
Visual Studio Code
A full editor for developing and debugging applications.
-
RStudio
An environment for statistics and the R language.
Below the environment picker is a dropdown with the container image. The default is Custom Notebook, where you can enter your own image.
CPU and memory
Under CPU / RAM enter the minimum number of cores and minimum memory in Gi. This is the lower bound the notebook is guaranteed to receive.
| Field | Default |
|---|---|
| Minimum CPU | 0.25 |
| Minimum Memory Gi | 1 |
GPUs are not available
Leave Number of GPUs set to None. ML TUKE runs on CPU only.
Storage volumes
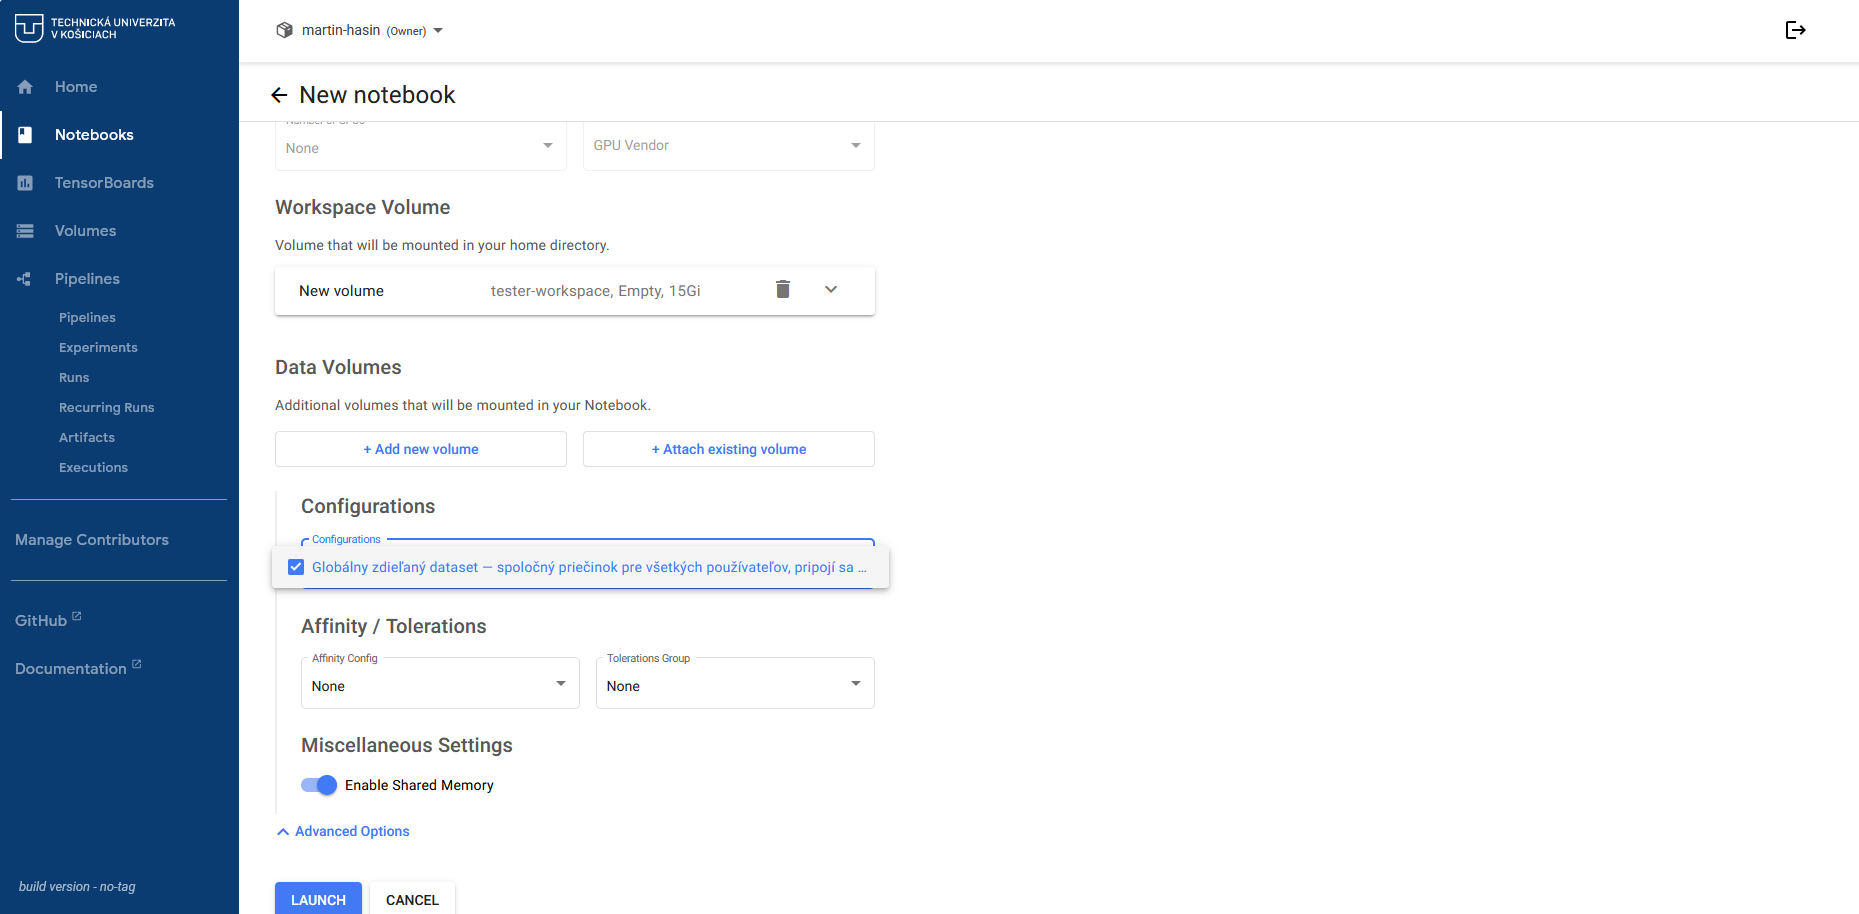
The Workspace Volume is mounted as your home directory. By default a new volume named after the notebook is created.
Data Volumes are optional additional volumes:
- + Add new volume creates a new one
- + Attach existing volume mounts one you already have
Configurations
Under Configurations there is an option called Globálny zdieľaný dataset. Ticking it mounts the folder shared by all users of the platform into your notebook.
The shared folder has its own rules
All signed-in users can see and modify its contents, and it is wiped completely once a year. Read the terms before using it.
Additional settings
| Setting | When you need it |
|---|---|
| Affinity / Tolerations | Targeting specific cluster nodes, normally leave at None |
| Enable Shared Memory | Turn on for PyTorch dataloaders, otherwise they may fail |
Create the notebook with LAUNCH. Startup takes a few dozen seconds while the container image is pulled.
Working in the environment
Once the notebook reaches the Running state, open it with CONNECT.
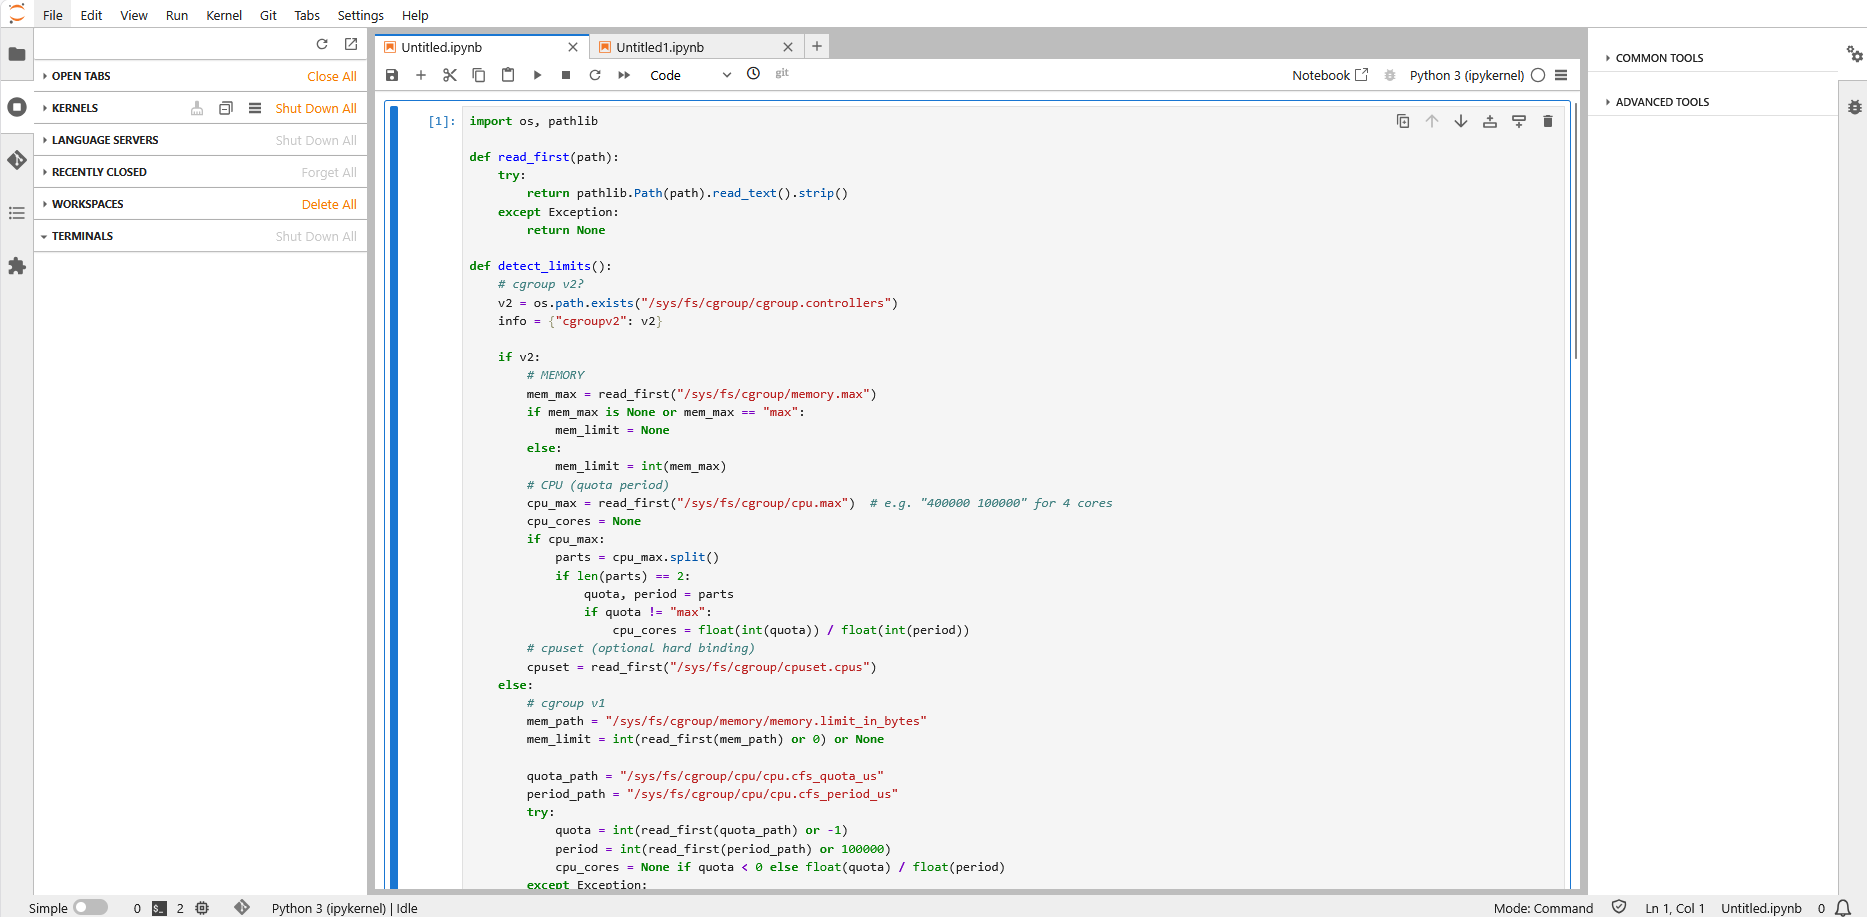
In JupyterLab you can create notebooks via New → Python 3, upload files with Upload and organise projects into folders. Changes are saved continuously onto the workspace volume.
How to check the resources actually allocated
The values in the form are minimums. You can read the container's real limits straight from cgroup:
TensorBoards
The TensorBoards section is used to visualise training logs.
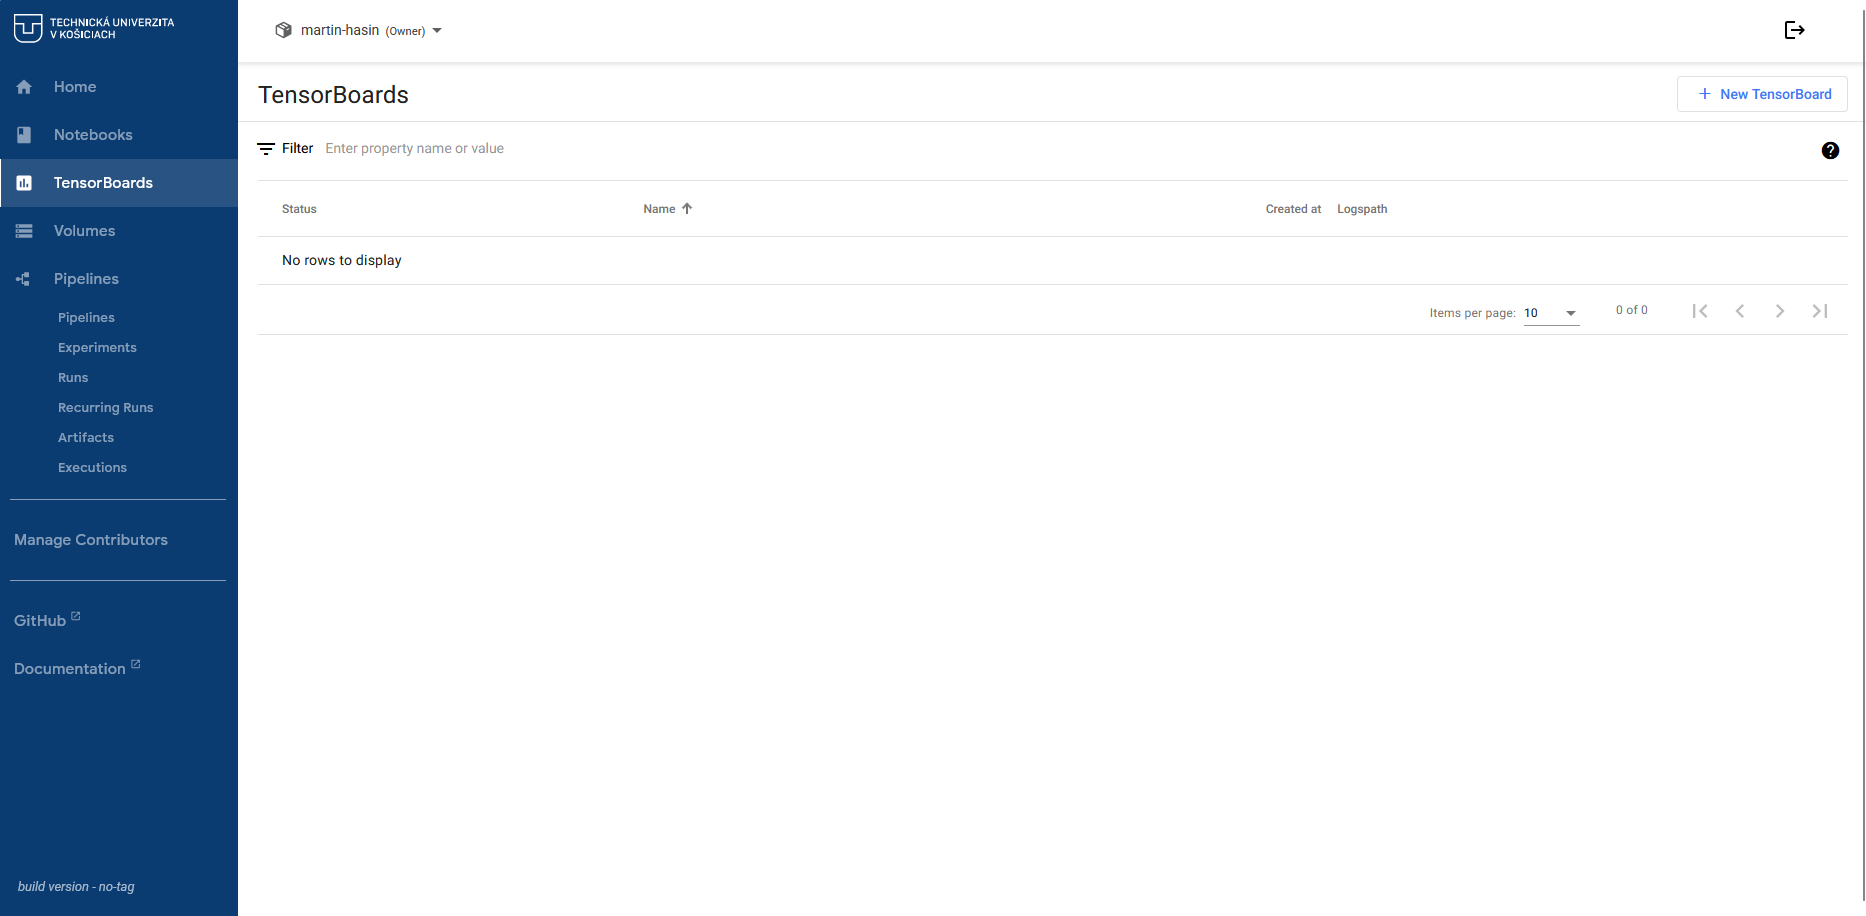
Create a new instance with + New TensorBoard, where you enter the path to the logs (Logpath) on one of your volumes.
Recommendations
Best practices
- Stop notebooks you are not using, they consume compute resources
- Data stays stored even after the notebook is stopped
- Clean up regularly — unneeded files, datasets and logs
- Use Git for version control of your code